Customize toolbars on a view
In ArcGIS Pro, most tools are available on the ribbon tabs and in context menus. For convenience, some commands are available in both locations. Additionally, some views, such as the attribute table and chart views, have toolbars so tools that are relevant to the view can be easily accessed in your workflows. Toolbars provide quick access to commonly used commands or tools while working in a view, such as a map view. Custom toolbars can be created, modified, and deleted as needed. They can also be contextual to the views they are assigned to, and can be docked to any edge of the view.
Some toolbars are considered a system toolbar, such as the toolbars found on the attribute table and chart views, and cannot be deleted. For system toolbars on table and knowledge graph views, you can add additional tools and rearrange them.
Note:
At the ArcGIS Pro 3.7 release, a limited number of system toolbars are editable. These include the toolbars on the attribute table, knowledge graph, and spectral viewers views. Other system toolbars cannot be edited and do not appear on the Customize Toolbars dialog box.
Open the Customize Toolbars dialog box
The dialog box for customizing the toolbars can be opened from any active view. Once the Customize Toolbar dialog box is open, you can create custom toolbars, as well as modify and delete custom toolbars as needed.
Open the Customize Toolbars dialog box by right-clicking an active view's tab and click Customize Toolbars.
Note:
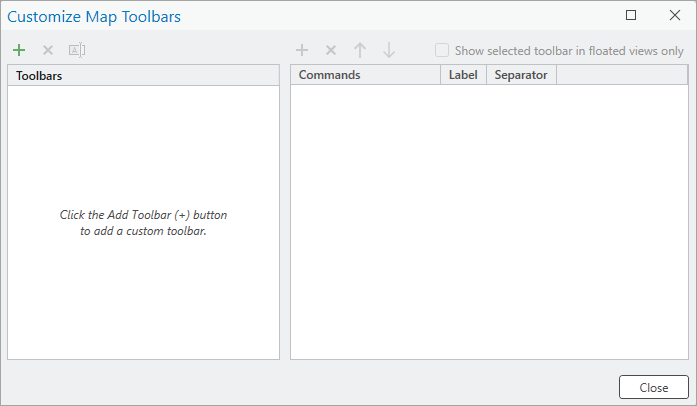
The Customize Toolbars dialog box only shows you the applicable toolbars for the active view when the dialog box is opened, if it can be modified. For example, a map view does not have a toolbar associated with it by default; however, you can create one. The chart view also has a toolbar, but it cannot be modified.
The command name for opening the customization dialog box and title of the dialog box include the view type that is currently active. For instance, if you are creating a toolbar for a map view, you click Customize Map Toolbars.
Create a new custom toolbar
As needed, you can create a new toolbar for a view that fits your workflows. For example, suppose you want to create a toolbar for map views so common tools are immediately available from the view instead of on the ribbon. You can add a new toolbar to the view that allows you to access the tools you need without leaving the view.
Open the view for which you want to create a new toolbar.
Open the Customize Toolbar dialog box.
Click the Add toolbar button
 .
.The Add Toolbar dialog box appears.
Type a name for the toolbar in the Name text box and click OK.
Above the commands list, click the Add command to selected toolbar button
.The Commands dialog box appears.
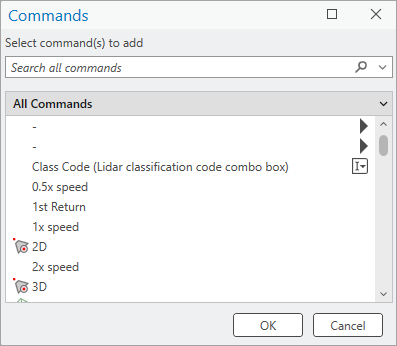
By default, the filter on the dialog box is set to All Commands, and you can search for the commands you want to add by name. There are additional filters for the commands list that help you to narrow the list of commands:
Popular Commands—Commands that are regularly used in ArcGIS Pro.
Currently Visible Tabs—Only commands from the tabs currently visible in ArcGIS Pro are in the list of commands.
All Tabs—Commands from all tabs are included in the list.
Popular Geoprocessing Tools—Geoprocessing tools that are regularly used in ArcGIS Pro.
All Geoprocessing Tools—All geoprocessing tools that are available in ArcGIS Pro.
Type a tool name in the Search command(s) to add text box to find the command you want to add to the toolbar.
Click OK to add the tool to the custom toolbar.
The selected command appears in the command list on the dialog box, and on the view.
To display the label for the tool, as it displays on the toolbar, check the Label box.
To display a separator before the command, check the Separator box.
To change the location of the tool on the toolbar, click Move command up one position
 and Move command down one position
  .
.Repeat steps 6 through 10 as needed.
Click Close when you are finished creating the toolbar.
The toolbar appears at the top of the selected view.

Customize an existing toolbar
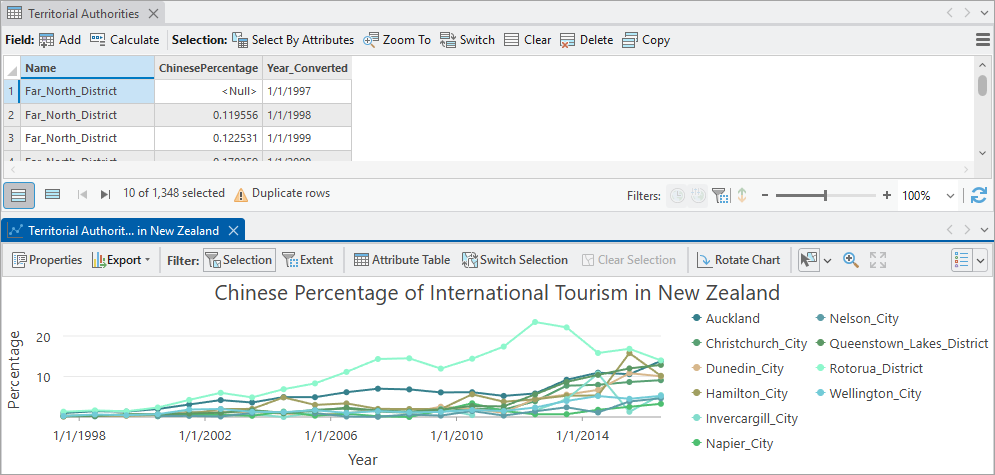
You can also add tools to an existing custom toolbar on a view, or the system toolbars on a table or knowledge graph view. For example, you can customize the toolbar at the top of the attribute table view to add tools. Suppose you want to add a new group for tools related to opening the views for adding domains, subtypes, and attribute rules. That can be accomplished by adding the tools to the existing toolbar.
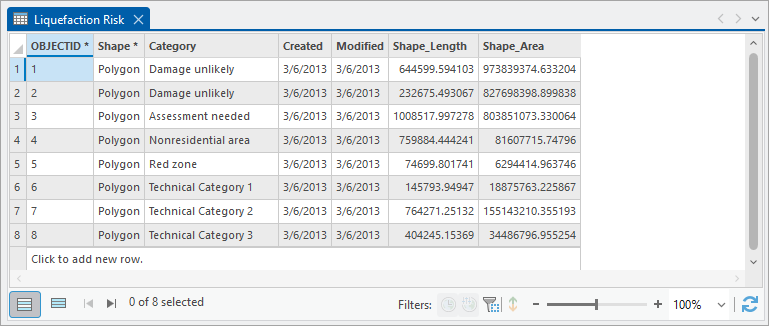
Open an attribute table view.
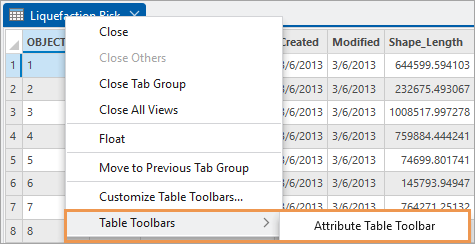
Right-click the toolbar on the top part of the attribute table view and click Customize Table Toolbars.
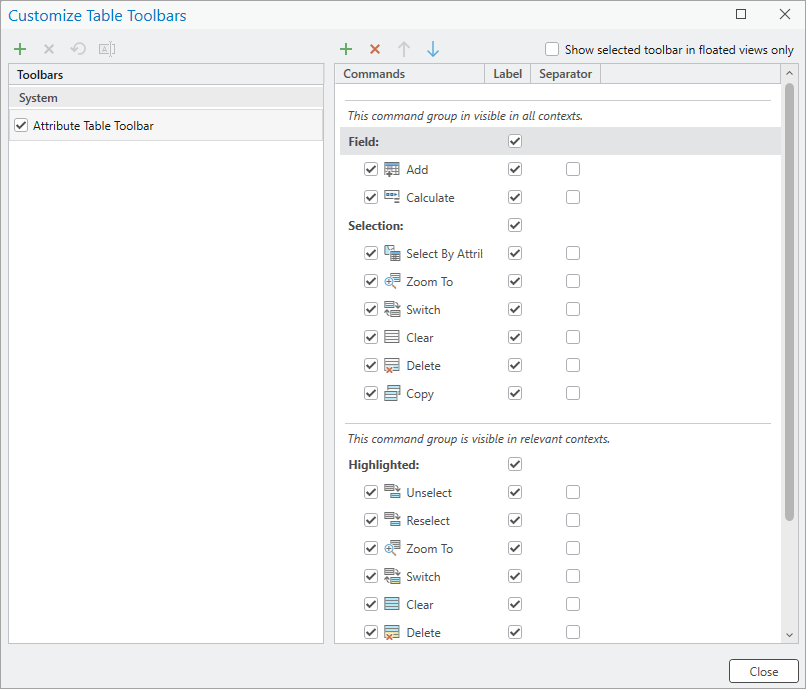
The Customize Table Toolbars dialog box appears.
Above the commands list, click the Add command to selected toolbar button
.The Commands dialog box appears.
Click the drop-down arrow next to All Commands and choose Currently Visible Tabs.
This setting only shows commands from the tabs that are currently visible in ArcGIS Pro.
Scroll down to the Table Contextual Tabs heading.

Expand the Table node, then the Field node.
Click Fields (Shows the fields view for the table in the active table view.), then click OK.
The command appears at the bottom of the command list. Text above the new group indicates that the command will be visible in all contexts. This means that the tool is going to be visible, but not necessarily available to use, on the attribute table view's toolbar.
In the user interface, the command is also added to the end of the existing toolbar.
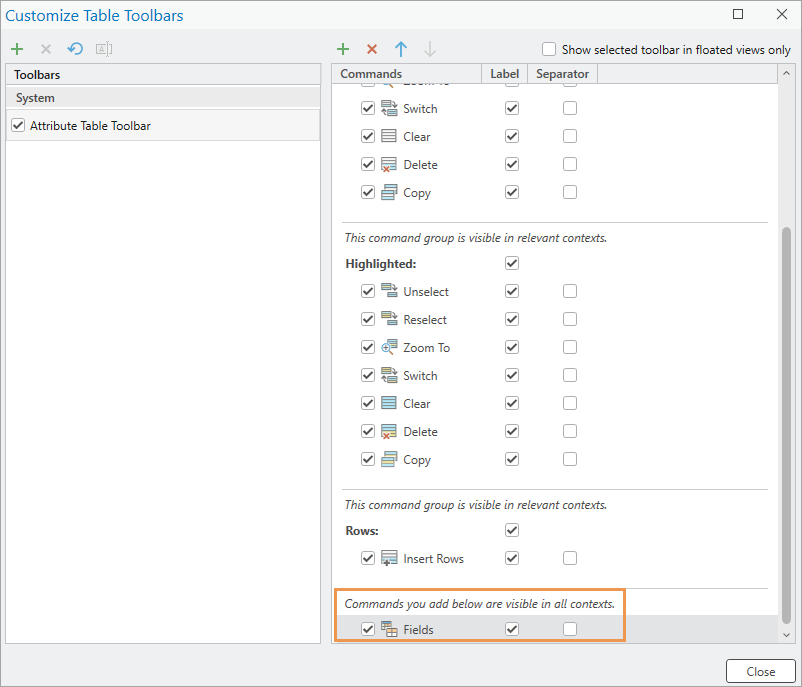
Check the Separator box to add a separator before the Fields command.
This helps you see where the customizations you have made are located on the toolbar.
Repeat steps 3 through 5.
Expand the Table node, then the Tools node.
Click the Summarize (Create a summary table.) command and click OK.
Click Close.
The new new tools appear at the end of the toolbar.

Remove commands from toolbars
As needed, you can remove commands from custom toolbars on an active view. This allows you to adjust the commands on the toolbars to suit your workflow.
Open the view that contains the toolbar to customize.
Open the Customize Toolbars dialog box.
The Customize Toolbars dialog box appears.
Click the command to remove from the toolbar.
Click the Delete button
 .
.The command is removed from the list of commands on the Customize Toolbars dialog box and the toolbar in the user interface.
Click Close.
Note:
You can reset any changes you make to a system toolbar by clicking Reset toolbar ![]() .
.
Change the order of commands on the toolbar
You can change the order of tools on a toolbar as needed. This allows you to move more frequently used tools to a more prominent location on the toolbar. For example, you can add tools to the toolbar for a table view and change their positions to make them more visible.
Open the view that contains the toolbar to customize.
Open the Customize Toolbars dialog box.
The Customize Toolbars dialog box appears.
Click the tool you want to move on the toolbar.
Click Move command up one position
and Move command down one position to adjust the tool's location on the toolbar.The tool's new position is reflected on both the Customize Toolbars dialog box and the toolbar on the user interface.
Repeat steps 3 and 4 as needed to adjust the positions of tools on the toolbar.
Click Close when you are done customizing the toolbar.
Show and hide toolbars
Toolbars on views are visible by default. You can choose to hide the toolbar for a view altogether and display it again. You can also choose to only display a toolbar when the view is not docked in ArcGIS Pro.
Toggle a toolbar on a view
Toolbars can be hidden and displayed again for a view. When a toolbar is hidden, you only see the title of the view tab.
Open the view that contains the toolbar you want to show or hide.
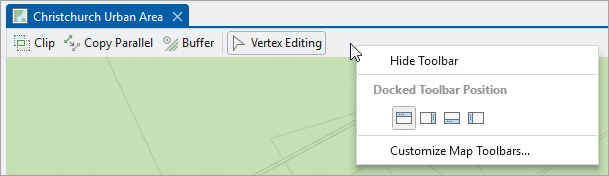
To hide the toolbar, right-click the toolbar and click Hide Toolbar.
The toolbar is not displayed in the view.
To restore the toolbar, right-click the view's tab and click <view type> Toolbars for the view, then the toolbar name.
Display a toolbar when a view is floating
View tabs can be displayed as floating windows in ArcGIS Pro. This allows them to be displayed on a separate monitor, for example, instead of being docked in the application window.
When you choose to display a toolbar only when the view is floating, it disappears when the view is docked.
Open the view that contains the toolbar you want shown when floating.
Open the Customize Toolbars dialog box.
Check the Show selected toolbar in floated views only check box.
If the view is docked, the toolbar disappears.
Click Close.
Make the view float to display the toolbar.

Note:
If the toolbar is already hidden when the Show selected toolbar in floated views only box is checked, the toolbar is not displayed in a floating view.
Toolbars and docking
Custom toolbars in ArcGIS Pro can be docked on any of the four sides of the view. The default setting is to dock them at the top of the view, but you can choose to dock them on the right side, left side, or bottom of the view as it suits your workflow.
With system toolbars, such as toolbars on a table or knowledge graph view, you cannot dock them elsewhere in a different position on the view.
Reset toolbar customizations
System toolbars that can be modified, such as for table and knowledge graph views, can be reset to the defaults set for ArcGIS Pro. This removes any customizations that have been made. Custom toolbars cannot be reset to a default state.
Open the view with the toolbar to be reset.
Open the Customize Toolbars dialog box.
Click Reset toolbar
 .
.The list of tools on the toolbar is updated to the default for the system toolbar, and changes are reflected on the user interface.