Enable or disable manual error management
By default, ArcGIS Data Reviewer uses automatic error management, which updates an error status to Acceptable  as soon as evaluation confirms the error is fixed. Some organizations want more control over the process. Manual error management allows a reviewer to decide when an error is fixed. After you fix an error and re-evaluate the rules, the status changes to Resolved
 , allowing someone in your organization to manually review the correction before marking the error as Acceptable .
Manual error management also adds the Status and Notes tabs in the Error Inspector pane. Use the Status tab to change an error's Phase and Status as it moves through the error life cycle. Use the Notes tab to add correction notes that describe how the error was fixed and verification notes to record the approved fix.
Ways to enable manual error management
You can enable manual error management from the geodatabase properties or with the Set Reviewer Properties geoprocessing tool.
Important:
Before you enable manual error management, you must configure at least one Data Reviewer validation attribute rule and enable global IDs and editor tracking.
The following database types are supported:
File geodatabase
Mobile geodatabase
Note:
When you enable manual error management, Data Reviewer validation checks display a minimum supported release of ArcGIS Pro 3.8 in the Attribute Rules view.
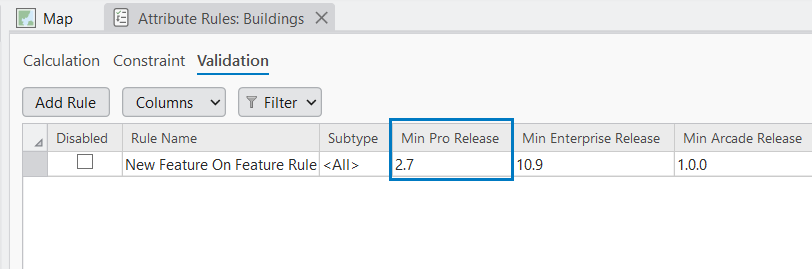
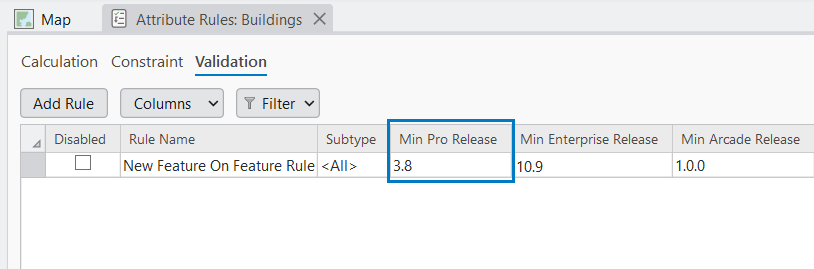
Ways to disable manual error management
To disable manual error management, you can change the management style to automatic from the geodatabase properties or by using the Set Reviewer Properties tool.
Use geodatabase properties to control manual error management
By default, Data Reviewer uses automatic error management. To enable manual error management from the geodatabase properties, complete the following steps:
Open a project in ArcGIS Pro that contains at least one Data Reviewer validation attribute rule.
In the Catalog pane, click the Databases
 drop-down arrow.
Right-click the database that you want to enable manual error management on and click Properties.
The Database Properties dialog box appears.
Click the Data Reviewer tab.
Click the Error Management Advanced Options drop-down arrow if it is not already expanded.
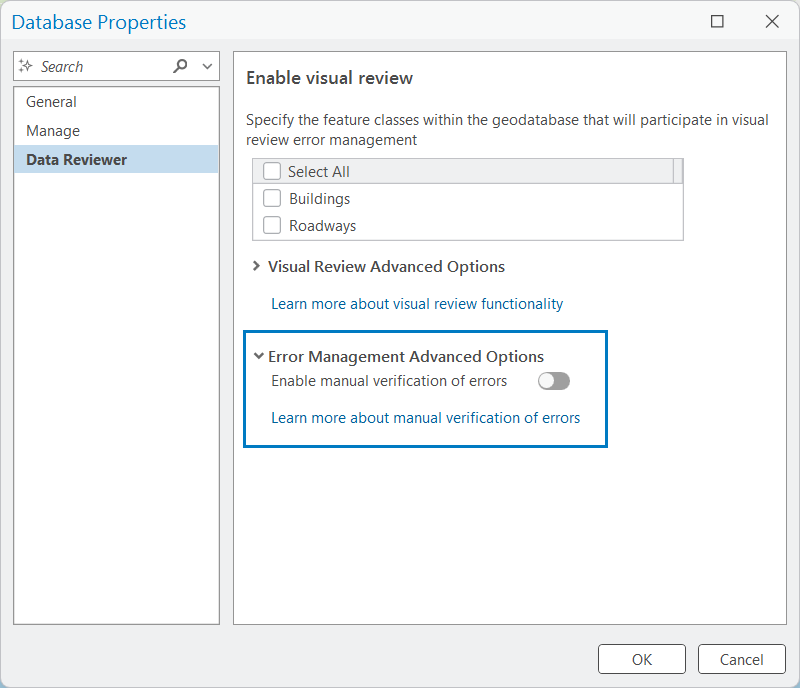
Turn on the Enable manual verification of errors toggle button.
Click OK.
Manual error management is enabled on the geodatabase. You can confirm the error management method by viewing the GDB_ReviewerExtensionProperties table in your project's geodatabase.
Note:
You may need to refresh the geodatabase to view the newly added GDB_ReviewerExtensionProperties table.
To disable manual error management, turn off the Enable manual verification of errors toggle button.
Click OK.
The selected database now uses the updated error management method.
Use a tool to control manual error management
To enable manual error management using the Set Reviewer Properties tool, complete the following steps:
Open a project in ArcGIS Pro that contains at least one configured Data Reviewer validation attribute rule.
On the ArcGIS Pro ribbon, click the Analysis tab.
In the Geoprocessing group, click Tools
 .
Click the Toolboxes tab and expand Data Reviewer Tools.
Click the Reviewer Properties toolset drop-down arrow and click the Set Reviewer Properties tool.
The Set Reviewer Properties tool appears.
In the Input Workspace parameter, browse to the geodatabase and select it.
Click OK.
In the Error Management Method parameter, click the drop-down arrow and choose Manual.
Click Run.
Manual error management is enabled on the geodatabase. You can confirm the error management method by viewing the GDB_ReviewerExtensionProperties table in your project's geodatabase.
Note:
The GDB_ReviewerExtensionProperties table is required to use manual error management. To ensure database compatibility, do not delete the table while the error management method is set to Manual. To safely remove the table, first switch the error management method to Automatic.
To disable manual error management, in the Workspace parameter, browse to the geodatabase and select it.
Click OK.
In the Error Management Method parameter, click the drop-down arrow and choose Automatic.
Click Run.
The selected database now uses the updated error management method.