Add Lines from New Lines Layer
The workflow to add line or a polyline is identical except for the number of vertices used to construct the feature geometry. A line feature has two vertices and a polyline has multiple vertices.
Description
Creating a line feature on a map helps distinguish the feature of focus and draws visual attention to a feature such as a fence or boundary. This workflow teaches how to add lines to a map, use the edit pane, and how to edit fields.
Prerequisites
- None
Tools and commands used
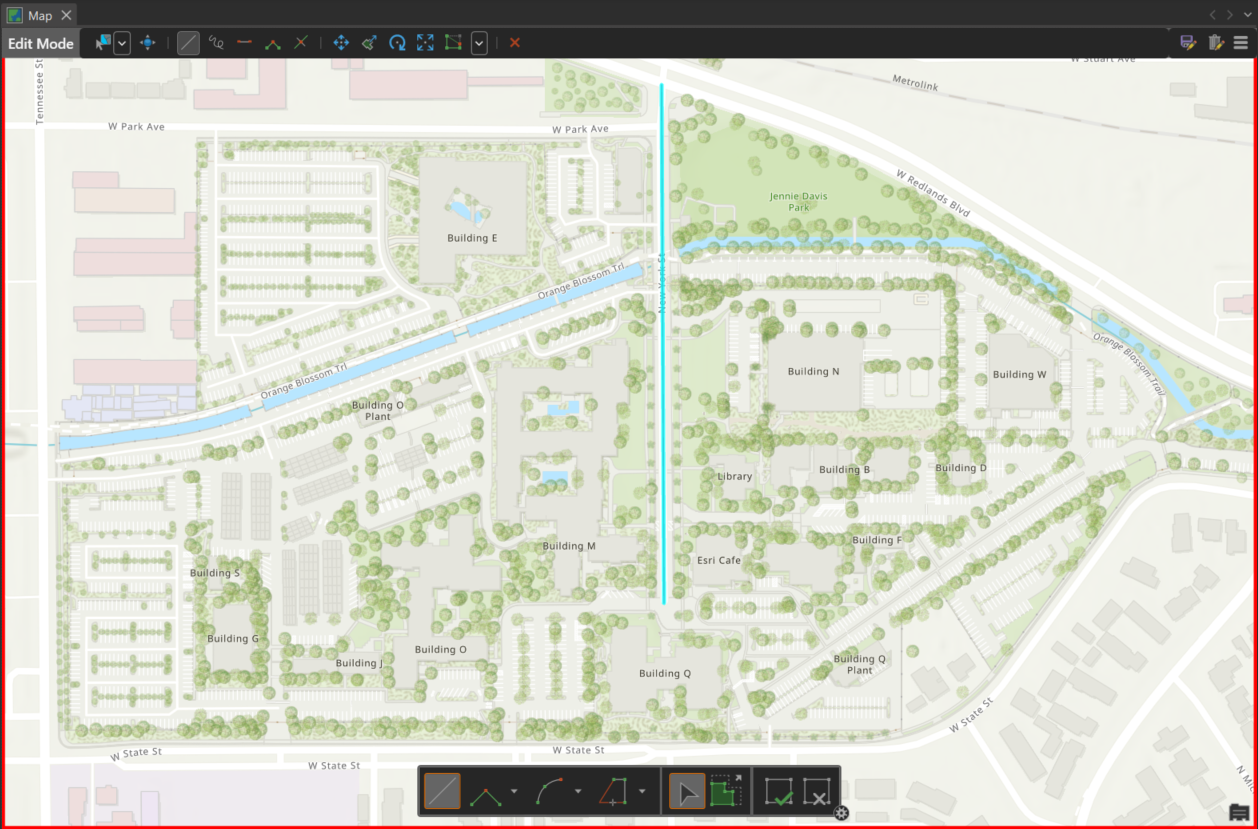
Mapview toolbar
Edit tab > New Line layer
Steps
Click Map tab.
Click Edit
 in the Features group.
Click Edit tab
Click New Line Layer
 in the New Features group.
A polyline feature class appears in the Contents pane. Edit mode enables and the Edit tab and Edit Feature pane appear.
The Construction toolbar appears with the Line tool active.
Click on the map to place the start point.
Move the cursor and click on the map to create vertex. Repeat to add more vertices to the line.
Double-click to place the endpoint and finish the feature.
The Edit Feature pane updates to show attributes for the new feature.
When a feature is first created, it has two fields automatically. The OBJECTID and the Label. The OBJECTID is a unique identifier for each feature. The Label field is used to label the features on the map.
The feature created exists as a memory feature class. This means that it is not saved to the project geodatabase.
Right-click the line feature layer in the Contents pane.
Click Save
 .
.The feature class is saved in the project's geodatabase.
While any pending edits are still waiting to be saved, a red line appears around the edges of map. The feature class is stored in a geodatabase, the red line indicates there are current edits within the feature class that must be saved.
Click Save Edits
 on the Mapview toolbar.
Save Edits dialog appears.
Click Yes to save the pending edits.
Click Select By Rectangle
 on the Edit tab.
Select the line feature on the map.
Name the feature in the label text box on the Edit Feature pane.
Click Edit Fields
 .
.The Fields view opens with the map view and a Fields tab opens on the ribbon.
In the Fields view, click in the last row in Click here to create a new field.
Type a new Field Name.
Choose a Data Type.
Optionally, type a field alias in Alias.
Click the Fields tab.
Click Save
in the Manage Edits group.Click Edit Fields pane.
The new fields are added to the Edit Fields pane and can also be edited on the Edit Feature pane.