Import documentation sets
Importing documentation sets allows you to add documentation sets that have been exported and shared with you or that you have exported from one root folder to add to another. The latter is common in secure environments, where doc sets are shared on a network drive, and you need to add them to a root folder on your local machine, so you can work in the field.
Steps
Open ArcGIS Documentation Center.
If you have not already, change your root folder to the location where you want the documentation set to be stored. For example, if you are importing a documentation set from a network drive, you might want to change your root folder to a local folder on your machine so you can access the documentation when you are not connected to the network.
For instructions on how to change your root folder, see Understand the root folder.
Click the Home tab.
Click Import a documentation set
 .
.
The Import a documentation set dialog box opens.
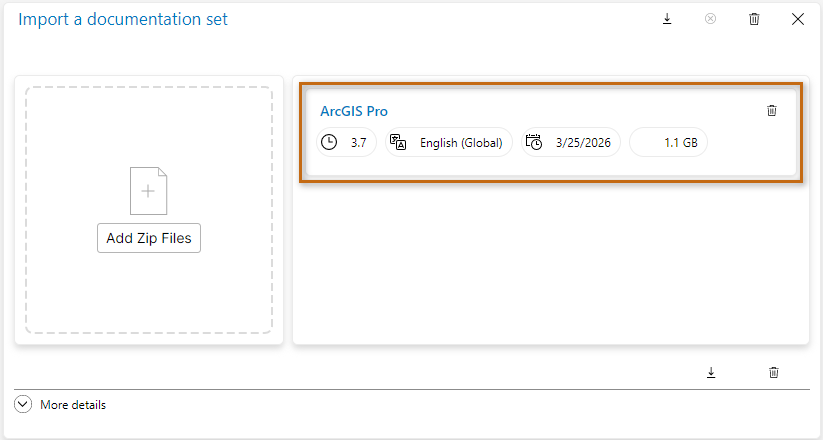
Either drag and drop the ZIP file onto the Add Zip Files area or click Add Zip Files, navigate to the ZIP file, select it, and click Open.
The documentation set appears in the list of documentation sets to import as shown below.
Click Import
Optionally, expand More details to see a log of the process.
Close the Import a documentation set dialog box.
Verify the doc set is available in the Home tab.